Hello again!
Assuming you have already installed the Cloudcom SMS Add-on, we can now do some fun stuff! In this guide we will show you how to send customized SMS messages to every receiver. It can be very useful when you need to inform many people about an appointment, login code or just become more personal by greeting them with their names.
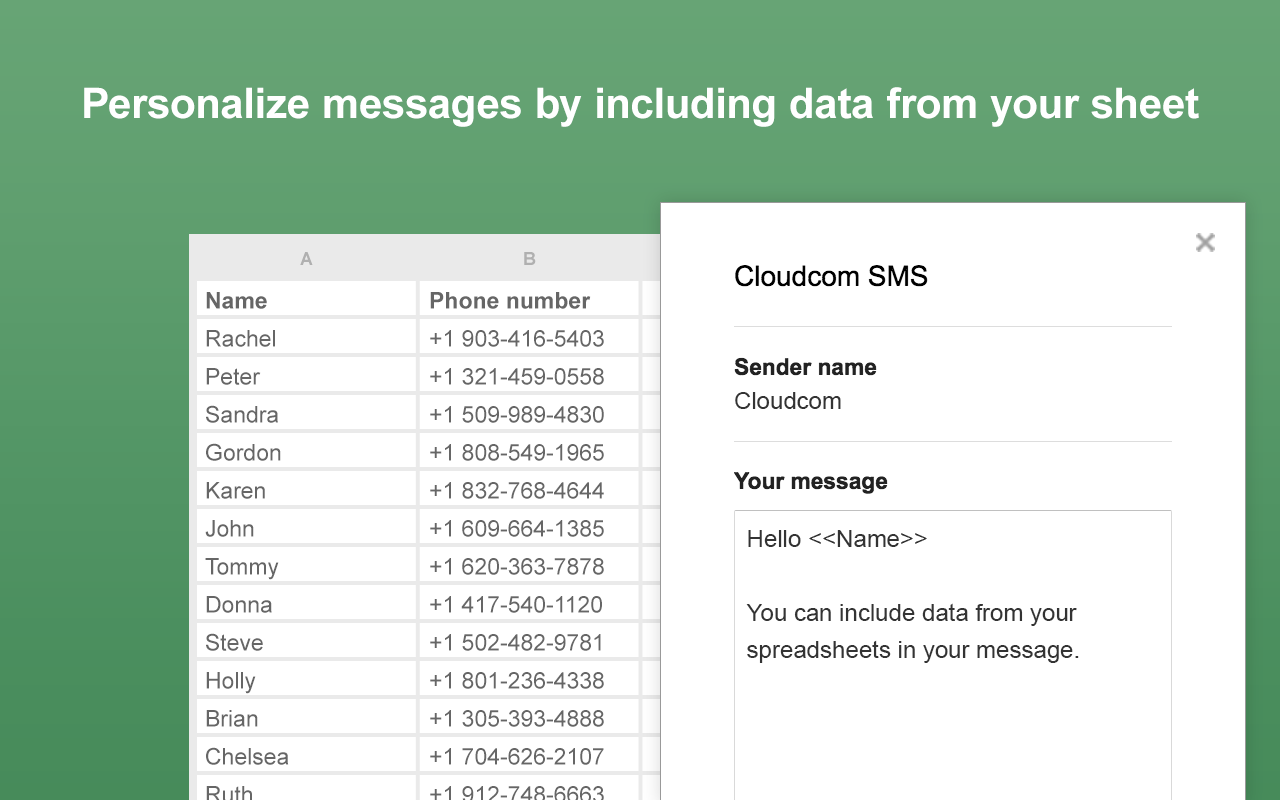
This feature requires that you have organized your spreadsheets with the top row containing column names, for example like this:
| Name | Number | Personal code |
| Marcus | 46-703085086 |
7823 |
| Carl | 46-392308540 |
2740 |
| Julia | 46-703823098 |
2045 |
Now select the range of numbers, in this case B2:B4, and open up the Add-on.
In the message body you can now insert data from other columns. Simply use dubble brackets, <<Column Name>>, to include data from another column.
Hello <<Name>>,
Here’s your personal code: <<Personal code>>
/Cloudcom
This message would result in Julia receiving the following to her phone:
Hello Julia,
Here’s your personal code: 2045
/Cloudcom
You get the hang, right? This is a very powerful tool, which can save you a lot of time getting your information out.
Comments are closed.